Here we are, the gold standard of all barbeque. Regardless of your feelings on brisket, it is the standard that all BBQ is measured by. Brisket is a complex art of practice and patience. While it may appear unapproachable, I can assure you that it is not. In this recipe we are going to show you how to make a great tasting brisket with minimal knowledge and the most fool proof method.
In this recipe, we will go over the easiest way to make a brisket with an overnight smoke on a pellet grill. Start this recipe before you go to bed and you will have brisket to eat by lunch the next day. If you want food for dinner that is fine too. You can always rest for longer, just be cautious about a shorter rest. This can seriously affect the end product quality.
Brisket Anatomy
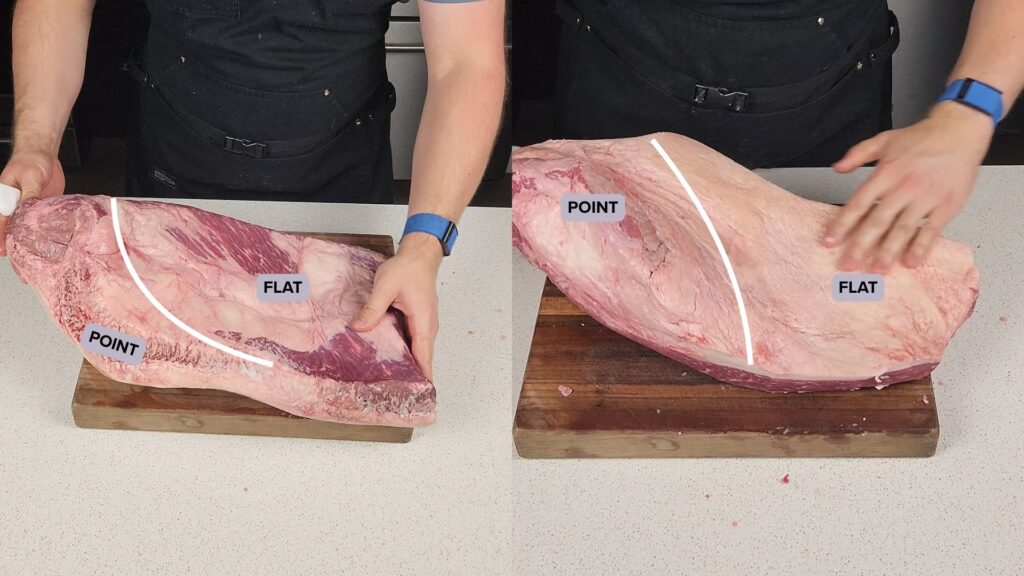
The point vs the flat shown with the meat side up (right) and fat side up (left). The white line is an approximation of the dividing line between the two. Every animal is unique but this is a good point of reference to start from.
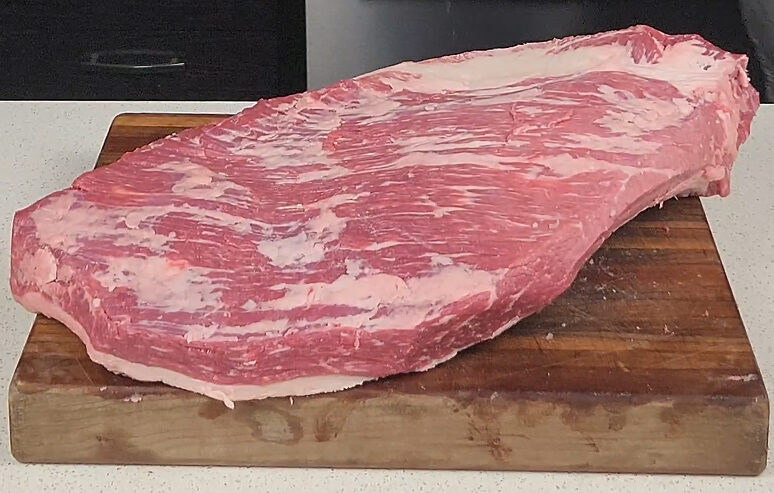
A brisket is a large cut of beef that contains 2 distinct muscles: the flat and point.
The point lays over top of the brisket with a large fat cap across them both. When you look at a brisket from the store, you will see two sides. One side is covered in fat and the other is meat. The meat side is the flat… mostly. There is a little point on that side but mostly it is the flat.
On the fat cap side, the thinner half will be all the flat. However, the larger side is the point. This is all covered in fat. On the fat side you will notice a ridge on the thickest part. This is commonly referred to as the Mohawk. This is part of the point. This is usually removed in the trimming process but can be kept on if you want.
One thing you might notice on the brisket is a large flat edge. This comes from the butcher process before you ever get your hands on the brisket. This is where the butcher separates the brisket from the rest of the front quarter of the animal. The exposed meat is the flat.
The grains of the muscles run perpendicular to each other. The grain of the flat runs the length of the brisket. This should be easy to see by looking at the meat side and noticing the muscle fibers. The grains of the point run perpendicular to this. This will come into play when slicing the brisket. Make sure to keep this in mind so you can have the best end product.
How to pick a brisket:
Not all briskets are created equally. When you go to the store to buy a brisket you will be inundated with options. This can be overwhelming but fear not, I will break it down for you.
You want a whole packer brisket with good marbling, a thick flat, and a weight between 12 and 18 pounds. When you’re shopping, you’ll usually see two options: a full packer brisket that includes both the flat and the point, or just the flat on its own. Go with the whole packer brisket. It’s the BBQ standard and gives you the best balance of lean and fatty meat for that perfect texture and flavor. You can find great briskets at places like Costco, Sam’s Club, restaurant supply stores, or your local butcher.
Make sure to buy a USDA Prime grade brisket. This guarantees more intramuscular fat, which means a juicier, more flavorful final product. Great BBQ always starts with great ingredients. Aim for a brisket that weighs between 12 and 18 pounds, then check the flat—the thinner end of the brisket in the package. Pick the one that looks the least thin for a more even cook. And that’s it, you’ve picked your first brisket.
Sure, we could dive into left vs. right side briskets, fat cap thickness, and all the other deep-cut details. But for now, you’ve got 90% of what you need to know. It’s not as complicated as people make it out to be.
How to trim a brisket with minimal knowledge:
After you select your brisket you may think you’re ready to cook, but not quite yet. You have to do some trimming first. Briskets are very untrimmed, however trimming a brisket can be easy and quick.
Here is how to trim your brisket. Grab a fillet/boning knife and let’s get into it (yes a chef knife will work too but it’s not the best).
- I recommend freezing your brisket for 15 minutes
- Start by removing the brisket from its package and pat dry
- Starting with the meat side up, remove the large piece of fat located between the flat and the point. Removing just enough till it’s flush with the rest of the brisket
- Remove the thinnest part of the flat. This is so the brisket can cook more even.
- Trim off the sharp point of the flat. This is for aerodynamics as well as it gives us a starting point to make out slices from later.
- Remove any excess fat from the edges of the brisket. We want the meat to be showing here, not just fat
- Remove any hard fat on the surface of the point
- Flip to the fat side. Start by removing the mohawk
- Remove all the fat on the point. While leaving the fat on the flat
- Trim the fat cap on the flat to ¼ inch thk
- Finish off by removing any discolored bits. These will be a gray color and not what you want to be chewing on later.
- That’s it, you’re ready to season and start smoking your brisket!
Overnight Smoked Brisket Recipe
Learn how to to make a smoked brisket on a pellet grill with a simple overnight smoke.
Ingredients
1 Whole Brisket
1/2 Cup Kosher salt
1/2 Cup Black pepper
Directions
- Purchase your brisket. Tips/guidance above
- Trim your brisket. Explained above
- Season your brisket with equal parts pepper and salt. Equal by volume here. 1/2 cup of salt to 1/2 cup of pepper. Yes you can get super crazy with the seasoning here and there is definitely room to explore, but this is all you need.
Note: you don't need to use all the rub on 1 brisket. Season heavily but don't feel you have to use everything. - Let brisket rest as you fire up your smoker to 190 deg F.
- Place a heat safe container in the smoker and fill with water. I use a 1/8 deep hotel pan. This will keep the air in the smoker humid and help avoid the skin drying out since we won’t be spritzing this brisket
- After smoker is up to temp, place the brisket fat side down on your smoker.
- Once the brisket is in place, close the grill up and head off to sleep. Make sure your pellet hopper is full so you don’t run out of smoke before morning
- After the brisket has been on the smoker for 8 hours it is time to wrap. I recommend the foil boat method
- Lay 2 sheets of aluminum foil on a tray or your counter. Make sure they are about twise the length of your brisket.
- Place your brisket fat side up on the foil. Wrap the foil around the brisket while leaving the fat cap exposed. This resembles a boat, hence the name.
- After wrapping the brisket, return to the smoker. Place a temp probe into the thickest part of the flat.
- Increase smoker temp to 225 deg F
- Continue smoking until brisket is probe tender. This usually occurs around 202 deg F, however it is truly unique to each brisket you cook. Once the brisket reaches an internal temp of 195 deg F, use an instant read thermometer to poke into the brisket. If there is resistance, the brisket is not done. You want it to feel like you are poking into warm butter. If it is not ready, don’t be inpatient. You cant rush perfection here. (If you really are behind for dinner, you can increase the temp of your grill. It’s not ideal, but sometimes it’s what you need to do)
- After the brisket is tender remove from heat
- Let rest on the counter for 30 minutes. DO NOT SLICE INTO THIS! You have worked hard for this, don’t ruin it now by prematurely slicing into the brisket.
- After 30 minutes, wrap tightly in aluminum foil on all sides. Place into a warming oven or dry cooler. Rest for 30 minutes more minimum. You can rest up to 8 hours if needed. Just don’t let internal temp drop below 145 deg F, this is a safety thing
- When it is time to serve remove the brisket from its rest and grab your largest knife you own.
- Place the brisket fat side up and start on the flat end. Making ¼ inch thick slices
-Check the notes for a visual guide of how to slice your brisket - Continue parallel slicing until you notice the point meat on your slices
- Once you reach the point, turn the brisket 90 degrees. Sslicing perpendicular to your original slices
- Slice the point into slightly thicker slices
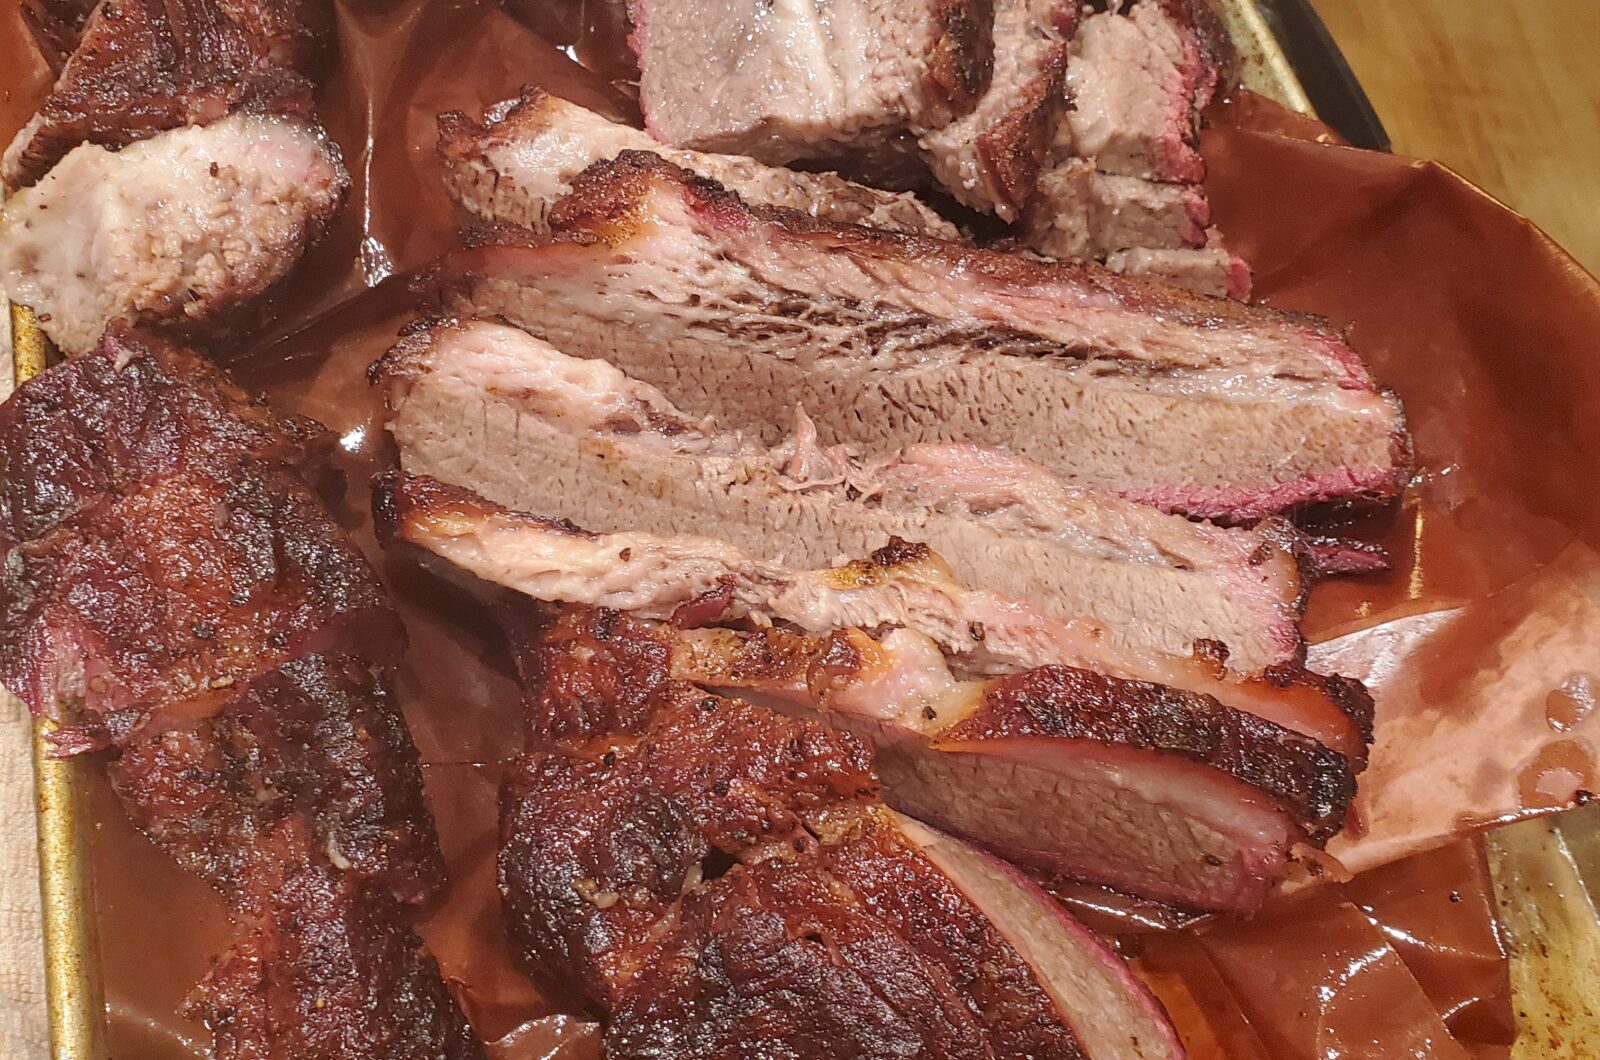
- Plate your brisket and enjoy! You did it. Brisket is a labor of love, and it’s now time to sit back and enjoy your hard work
Notes:

A visual approximation of how to slice your brisket