Growing up my family would go to our local meat market and get marinated deboned chicken. They were some of my favorite meals we cooked. It felt magical and I couldn’t wait to go back and get more. I thought there was a secret sauce (literally) that I didn’t have. Turns out it was simple to do and deboning the chicken was most of the reason the meat tasted so good. There are a whole host of benefits and it’s so simple to do. Learn this technique and your taste buds and wallet will benefit.
Why Deboning Your Own Chicken Is Worth It
Deboning your own chicken is absolutely worth it. It’s cheaper than buying pre-cut pieces, and you end up with a variety of cuts to use however you want. Plus, you get the carcass, which is a kitchen secret for making rich, flavorful stock. The whole process takes just a minute, and the payoff is huge.
Once deboned, the meat absorbs marinades, rubs, and smoke more effectively while the skin gets extra crispy. It also cooks more evenly, giving you juicy breasts, perfectly cooked legs, and that golden, irresistible skin. The carving afterward is noticeably easier too, since there are no bones in the way when it’s time to serve.
There’s been a lot of talk about spatchcocking birds, but this is just silly. For the same amount of effort, you can get an equally good end product without struggling to carve around the mangled, broken bones of a spatchcocked bird. Plus, you’ll have even more bones left over for making stock. You get a king’s ransom of benefits for just a minute of knife work.
Tools You’ll Need
All you really need is a sharp knife and a sturdy cutting board. I recommend a fillet or boning knife with a thin, flexible blade that can move easily around the tight corners of the chicken. Paper towels are helpful for patting the chicken dry before you start.
You’ll also want a bag or container for storing the carcasses. It’s best to save up a few and make a large batch of stock at once. The easiest way to do that is to freeze the carcasses until you’re ready to use them. This isn’t required though as you can debone a few chickens at once and just straight into making your stock.
And of course, you’ll need a whole chicken. That’s all you’ll need and you’re ready to go. With just a few simple tools, you can break down a chicken like a pro and have it ready for the grill in no time.
BBQ Tips for Deboned Chicken
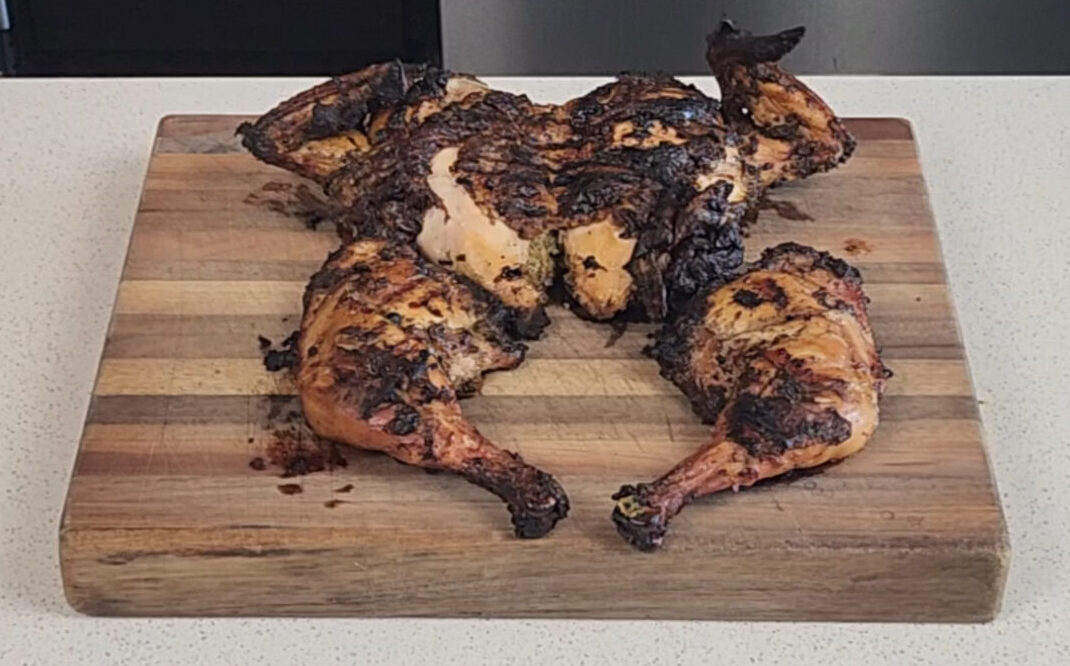
When grilling a deboned chicken, keep it spread flat on the grill. This helps the skin stay tight so it can render properly and get that perfect crispy texture. It also ensures the meat cooks evenly instead of steaming where pieces overlap. You can even use this same technique for turkeys since the anatomy is nearly identical and the results are just as impressive.
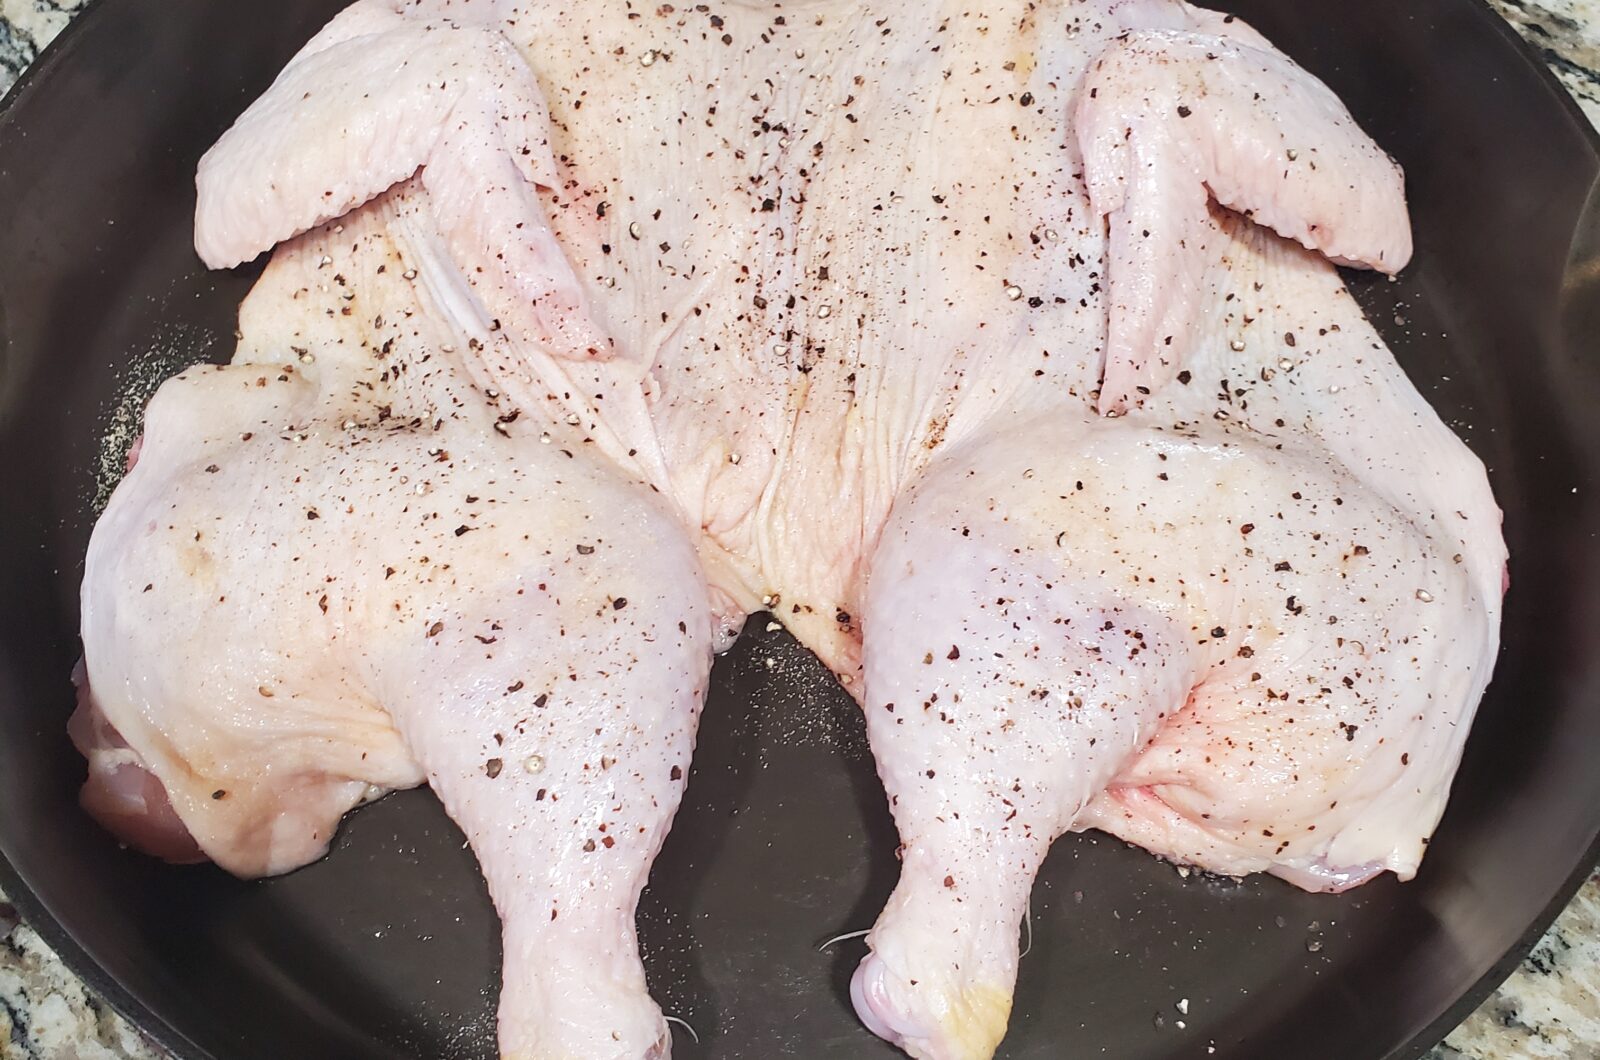
For the best results, place the skin toward the heat source, usually skin side up on a smoker or skin side down on a direct grill. You don’t need to tuck seasoning under the skin because the meat is already exposed. Season both sides generously for plenty of flavor.
I like to track the temperature of the breast to know when the chicken is done. The legs can handle more heat and won’t dry out, so once the breasts hit temp, the legs will be perfectly cooked too. Always confirm the internal temperatures to make sure you’ve nailed it.
Storage and Prep Tips
You don’t have to cook your deboned chicken right away. It can be stored in the fridge for a couple of days until you’re ready to grill. This is actually a great opportunity to dry brine, letting the skin air out a bit for the crispiest texture you’ve ever had. You can also use this time to marinate the chicken and build deeper flavor.
I like using a plastic bag for storage, but a large container works just as well. If you plan to freeze your chicken, lay it flat before freezing so it stacks easily and thaws much faster when it’s time to cook.
Final Thoughts
Save money, get a better end product, and end up with a beautiful stock to use later. I swear by this method and honestly think it’s one of the simplest ways to take your cooking up a level. Deboning a chicken makes everything easier, with faster cook times, crispier skin, and juicier meat every single time.
I’ve been told more than once that this is the best chicken people have ever had, and it all comes down to this quick prep step. Once you try it, you’ll never go back to buying pre-cut pieces. Tag me in your photos or videos when you give it a shot and let me know how it turns out.
How to debone a chicken
1
minuteLearn how to debone a chicken
Ingredients
1 Whole Chicken
Directions
- Remove chicken from the packaging, remove any gizzards and pat dry
- Place the bird breast side down with the legs towards you
- Starting on the left side (personal preference), cut between the wing and breast joint while not cutting into the breast too deeply
- Follow this cut down to the oyster. Keeping the oyster on the thigh.
- Cut through the hip joint
- Finish removing the leg from the backbone
- Spin the bird so the cut side is towards your dominant hand
- Follow the ribcage down, removing the breast from the carcase. Make shallow long cuts keeping as much meat as you can
- Once you get to the breast bone, flip to the opposite side
- Repeat steps 3-9. Wing joint, remove the oyster, separate hip joint, follow ribcage.
- All that should be holding the carcass to the meat is the breast bone. Pick up the carcase a few inches and cut between the breast bone and meat leaving as little meat behind as possible
- You’re done! Store your carcase for stock, season your deboned chicken however you want and get to cooking. Congrats!
Recipe Video
Notes
- I recommend using a fillet knife or a boning knife. They are excellent for the tight contours of the chicken