Beef tallow is the liquid form of beef fat. Boasting a savory flavor that compliments nearly all dishes, this fat is truly a secret weapon in the kitchen. Don’t spend an arm and a leg buying expensive beef tallow when you can make it at home. It is cheap, easy and takes minimal effort to make your own. Let us dive into what beef tallow is and how to render your own at home.
What is Beef Tallow Exactly?
Beef tallow is rendered beef fat. Through a process of heating solid beef fat or suet, the tallow is extracted. The melted tallow is then strained to remove any impurities then cooled. The resulting product is solid at room temp and is pure fat. This fat retains the flavor of beef and can be used for nearly all cooking.
The Benefits of Beef Tallow
In cooking beef tallow has many benefits. Its high smoke point allows it to be used for nearly all cooking operations. Additionally, the high saturated fat content of tallow allows tallow to coat pans more evenly than olive oil or avocado oil. If you try to make eggs in a stainless steel pan with olive oil vs beef tallow you will see the tallow does a significantly better job at keeping the eggs from sticking.
In regards to nutrition, beef tallow boasts vitamin A, D, E and K. It also contains a certain type of omega 6 linked to anti-inflammatory and antioxidant properties. The majority of health benefits from tallow are needing further study at this time. However, humans have been eating tallow since the dawn of time.
Wet vs Dry rendering tallow
There are two common methods to render tallow. The dry method refers to only using beef suet to render the tallow. Meanwhile, the wet method uses a small amount of water to begin the rendering process. Let’s look at the difference between the two methods
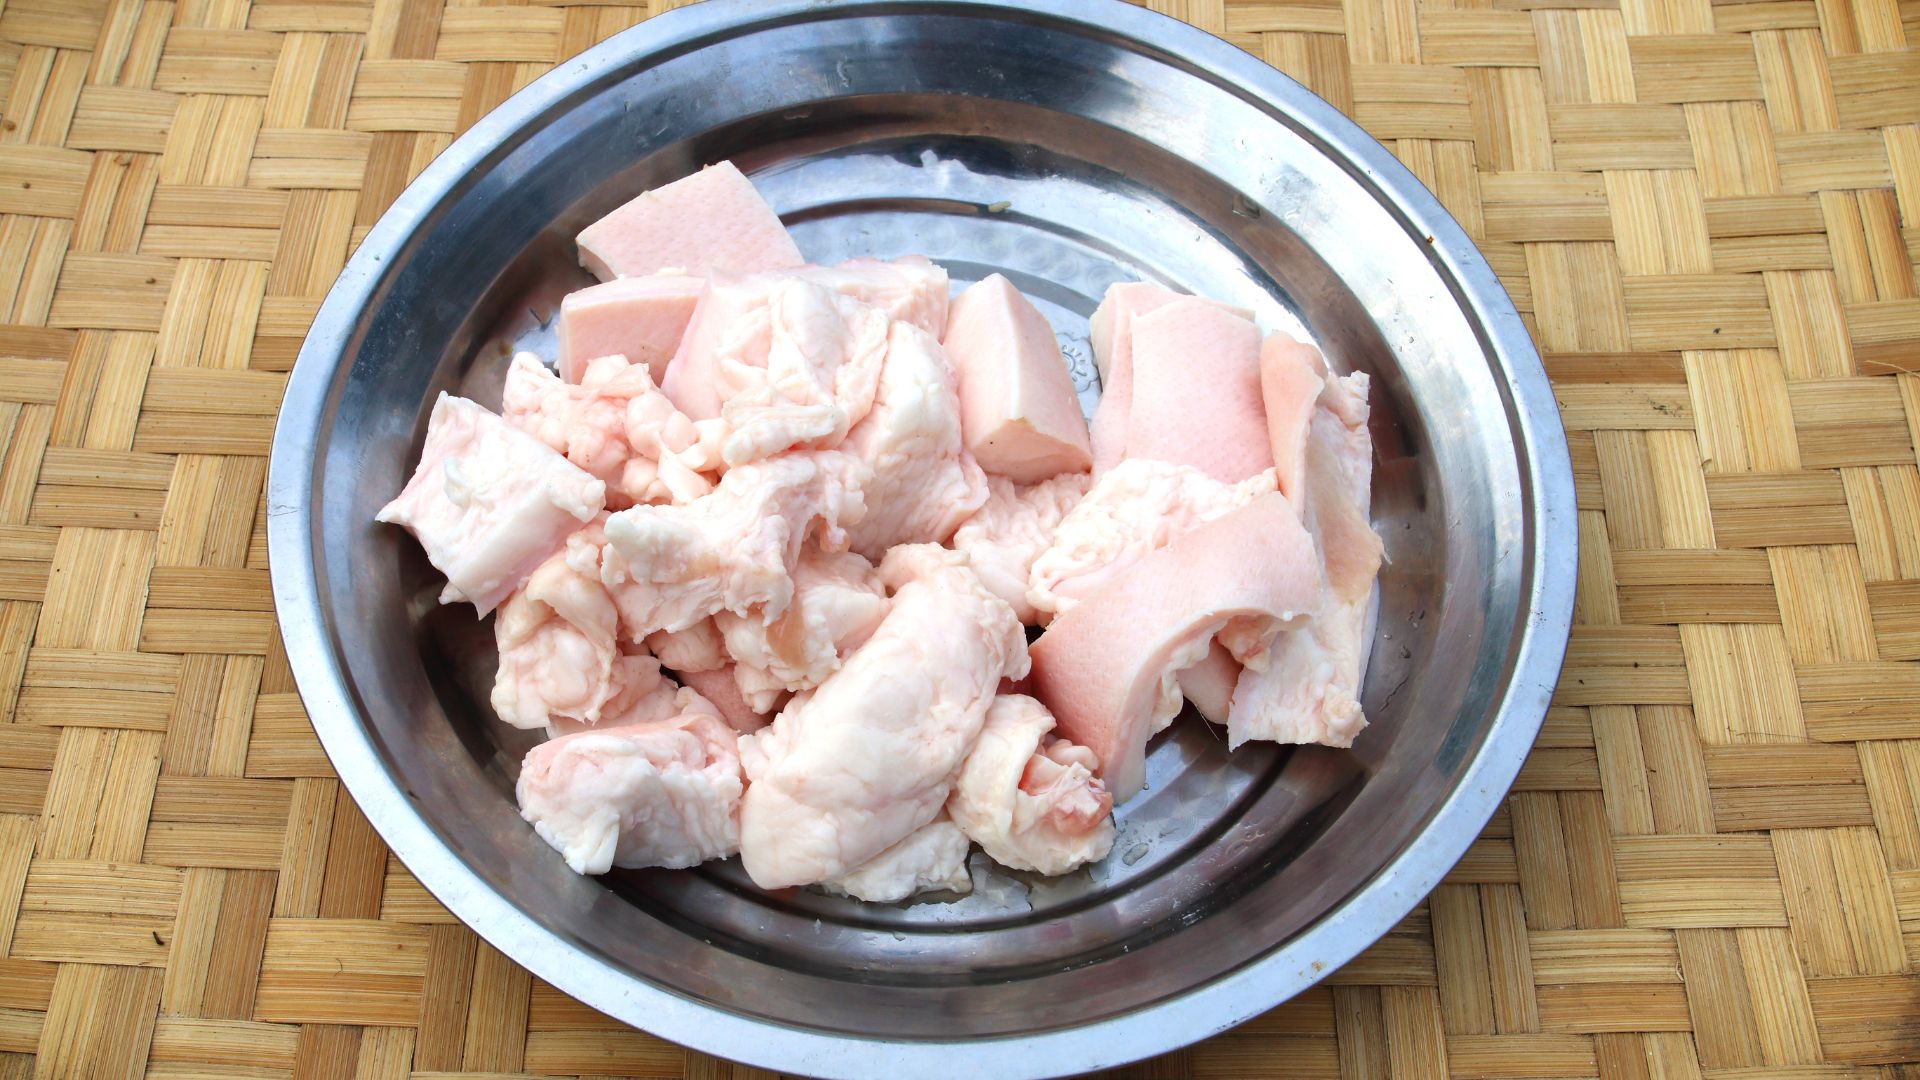
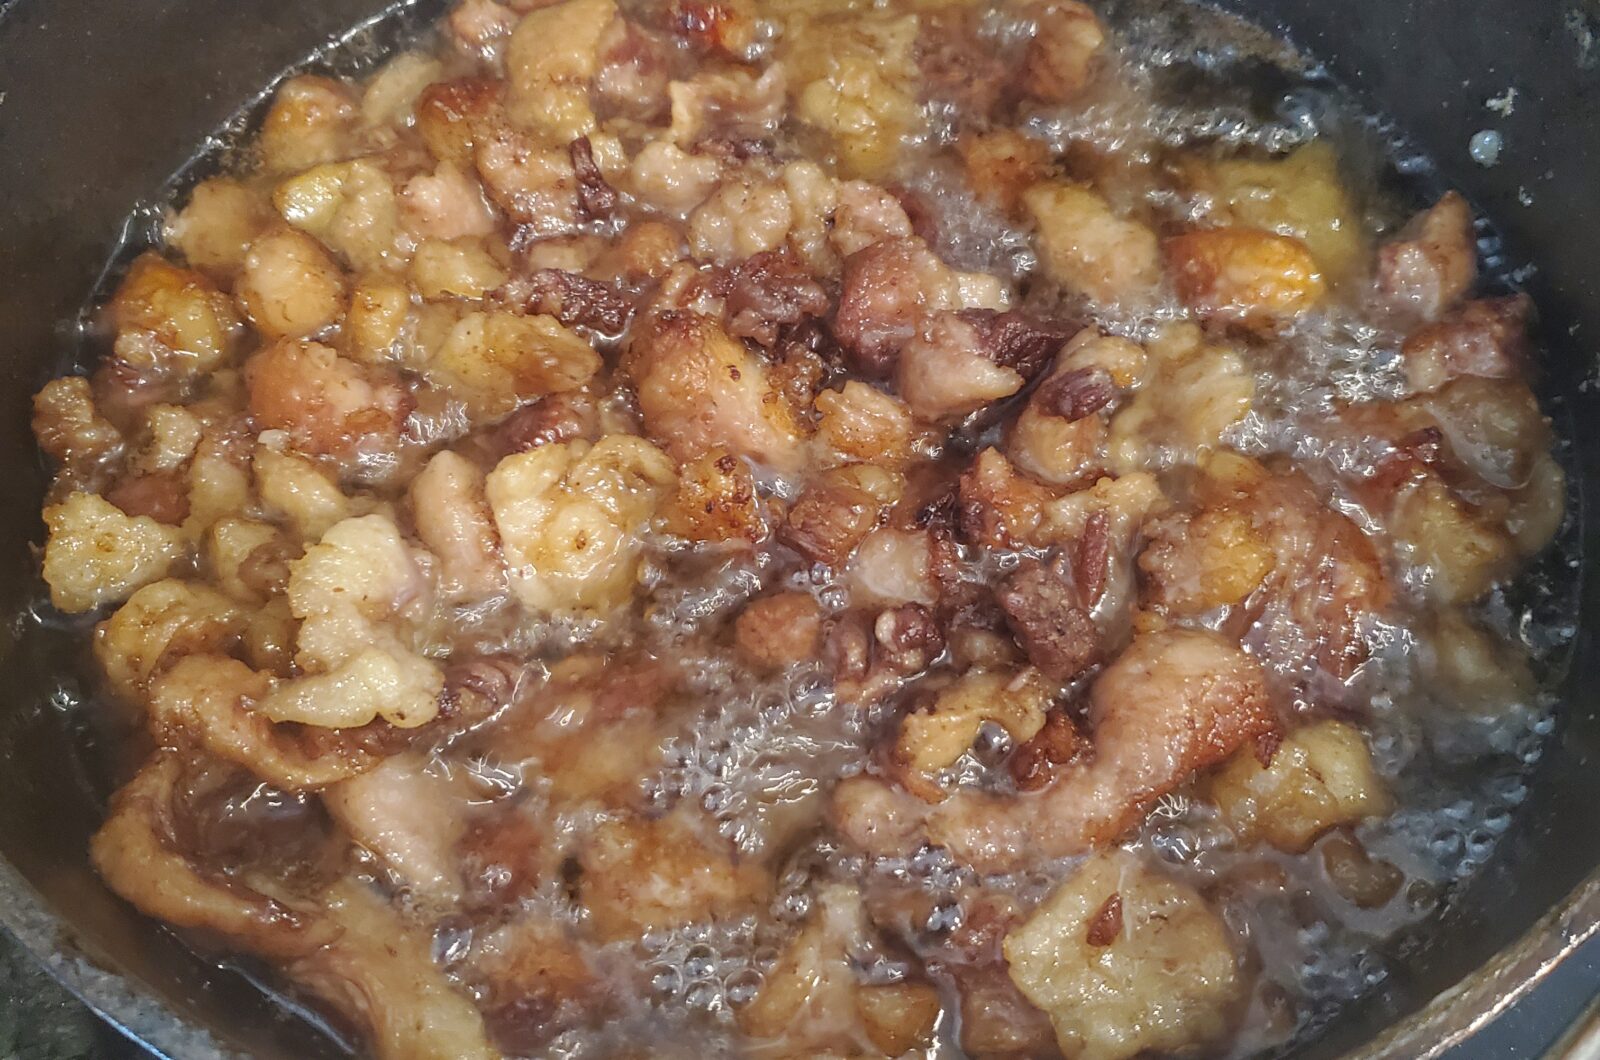
Dry: Dry rendering involves a single ingredient, beef suet. Typically cut or grinded into small pieces, the suet is placed into a pot and heated. The tallow will begin to render out. This then creates a deep frying effect with the suet causing more tallow to be rendered. This method starts slower and picks up in speed as it goes.
Wet: Wet rendering is the same as dry with the addition of a small amount of water to begin the rendering process. Typically only a few tablespoons, this water quickly boils off leaving behind the rendered tallow and achieves the same deep frying effect as the dry method. The point of the water is to increase the amount of suet in contact with the hot water and begin the rendering process quicker.
Both methods work great and there has been much debate between the different methods. I recommend the wet method as it is quicker and more forgiving in the beginning steps as it’s nearly impossible to burn the tallow when there’s water in the pot.
How to Use Beef Tallow
Beef tallow is incredibly versatile and can be used in nearly every application. Beef tallow has a very high smoke point, over 400 deg F. Allowing you to saute, fry and sear with tallow. Tallow can also be used as shortening in baking. Another way to get away from seed oils and add some amazing flavor to your baking.
Uses for beef tallow
- Searing
- Sauteing
- Deep frying
- Shallow frying
- Basting
- Baking/Shortening
All in all, you can use tallow for nearly anything. The main reason you shouldn’t use tallow has to do with the dish you are making. Remember that beef tallow has flavor. This means whatever you are cooking will end up tasting beefy. Typically this is a good thing, however not always. When making a sweet pastry you might not want a savory beefy flavor (maybe you do, I don’t judge).
The last thing to keep in mind when using beef tallow in cooking is the saturated fat content. Tallow is very high in saturated fats. While I am not going to make dietary recommendations to you, this is something to be aware of.
How to Find Beef Fat to Render into Tallow
There are two ways to get the fat needed to render tallow, buy it or trim it from roasts. Let’s look at both
Most butchers will have suet for sale. Purchase and you are home free. Remember, when going from the solid suet to the liquid tallow there is some loss. Mainly in the solids that are strained off. You will yield approximately 80% tallow by weight. I.e. 16 oz of suet will yield ~13 oz of tallow.
The second way to get the suet needed to render tallow is to trip it from roasts yourself. This is a super great way to save money on cooking. Trimming up your own roasts and cutting steaks is one of the first things I recommend when people are looking to save money while shopping. There is plenty of fat trim to be harvested from a brisket, top sirloin, chuck roll or simply trimming off your steak. Any and all of this “hard fat” or suet can be turned in to tallow. I recommend saving your trimming in the freezer until you have reached your desired amount. Then processing it into tallow.
How to Render Beef Tallow
Rendering beef tallow at home is super easy and can be done many ways. Smokers, ovens, stove tops, air fryers, a sous vide and even microwaves can render tallow. No matter the method used, you will need to keep in mind the temperature and size of the suet.
Size: First up is the size of the suet. You can render tallow from a large hunk of fat, it will just take a long time. To speed up the process and make it more consistent. The smaller the pieces of suet, the faster the tallow will render. The best is to put the suet through a meat grinder. Personally, I don’t do bust out the meat grinder just for this, but if I have it out already I make sure to use it.
Temp: tallow will begin to render at 135 deg F and will start to turn bitter tasting if taken above 300 deg F for more than a few minutes. This means we will want to render our tallow between 165-275 deg F. I prefer 250 deg F as this will have the tallow render quickly without burning it. If you go above 300 deg F the tallow can smell very burnt and taste very bitter. If your tallow gets to this point, sadly, it is ruined and should be allowed to cool and discarded.
As long as you keep your temp within the acceptable range the tallow will render, everything else just makes the end product more consistent and quicker.
Once your tallow is finished rendering you need to strain off all the solids. While a mesh strainer will work in a pinch, I highly recommend straining through a cheesecloth. This will remove all the solid particulates leaving you with the best quality end product. Once strained, let cool and store at room temperature in an airtight container for months, fridge it for storage up to a year and keep it in the freezer for multi year storage.
Tips to Make Rendering Tallow Easier
- Smaller Pieces are better. The smaller you can chop or grind the suet the faster and more evenly the tallow will render. I don’t notice a massive difference between diced suet and ground suet, but I highly recommend you chop up your suet before starting. Not only will it save you hours of cooking but will lead to a better end product.
- Add aromatics! Once your tallow is nearly finished you can add herbs and aromatics to flavor your tallow. Thyme, rosemary, sage, tarragon and garlic are wonderful examples and will give your cooking a great herbaceous depth. Warning, adding in aromatics will reduce the smoke point of the tallow. Due to the addition of impurities, the tallow will not handle high heat as good when cooking and won’t respond well to reheating multiple times.
- Straining: I like to set up a heat proof container with a mesh strainer over top and a cheesecloth inside. This way I can pour the tallow directly front he pot through the strainer. When doing this be careful not to burn yourself as you are handling hot oil. Once all the tallow has been strained I like to carefully squeeze the cheesecloth to release any and all of the tallow. BE CAREFUL, only do this after the tallow has appropriately cooled.
- Storage: I like to store my tallow in mason jars. This way I can pour the tallow in while it’s still warm and not worry about any microplastics. Plus the airtight seal keep it fresh for the maximum amount of time possible.
- Freeze your suet first: Before you chop or grind your suet, place it in the freezer for 10-20 minutes. This will firm it up making it easier to cut or grind. Room temp suet can be very difficult to hand and cut. Make it easier on yourself and freeze it for a bit beforehand.
Your Tallow Journey Begins Here
You don’t need any specialized equipment to start your tallow journey. You can begin saving your suet or go out and buy some for rendering right now. Rendering tallow is super simple and there is room for error. I implore you to go out and render your own tallow. You will be left with a delicious kitchen staple that will enhance your cooking.
While there are many ways to render tallow, this is my favorite (and easiest) way to render tallow
How to Render Tallow at Home
20
minutes1
hourThe exact measurements are not important in this recipe as you will be measuring when you use the tallow in another recipe. Therefore there are no macros or measurements on this recipe.
Ingredients
Beef suet (or hard fat)
Directions
- Freeze your suet for 15 minutes
- Chop, grind or use a food processor to break down the suet into small pieces. No larger than ¼ inch cubes (~6mm cubes)
- Place suet in a thick bottom pot with 2-6 tablespoons of water in the pot. Place over medium heat
- Stir occasionally as the water boils off. Reduce heat to low
- Once no water remains you can place a lid on leaving a small gap
- Occasionally stir and check on tallow
- Once, all tallow has rendered remove from heat
- Place mesh strainer with cheesecloth above a heat proof container. Carefully pour the tallow through the strainer. Let sit while tallow cools
- Once tallow is cool to the touch, give the cheesecloth a squeeze to extract all the tallow. Discard the remaining solids
- Pour tallow into airtight containers and store
- Enjoy!